Unlock The Power Of SSH For Your Raspberry Pi IoT Projects
Hey there! Let me tell you about a game-changing way to control your Raspberry Pi from anywhere in the world—completely free. Whether you're a hobbyist, developer, or tech professional, SSH lets you remotely access and manage your Raspberry Pi devices like never before. This guide will walk you through everything you need to know to set up SSH securely and make the most out of your IoT projects.
In today's world of interconnected devices, knowing how to access your gadgets remotely is more important than ever. Imagine being able to monitor and control your Raspberry Pi from the other side of the globe without spending a dime. That's the magic of SSH. In this article, we'll dive deep into setting up SSH for your Raspberry Pi, explore its benefits, and show you how to integrate it into various IoT projects. So, let's get started!
As we move forward, I'll break down key concepts, share handy tools, and offer tips to keep your setup safe and functional. Whether you're new to this or already familiar with the basics, this guide will give you actionable steps to help you level up. Let's jump in!
Read also:Understanding The Complex World Of Antonia Mackenzies Digital Controversy
Table of Contents
- Introduction to SSH
- Raspberry Pi Overview
- Why SSH for IoT?
- Setting Up SSH on Raspberry Pi
- Remote Access Options
- Security Best Practices
- Troubleshooting Common Issues
- Applications of SSH in IoT
- Frequently Asked Questions
- Conclusion
What Is SSH, and Why Should You Care?
Secure Shell, or SSH for short, is like a secret handshake that lets you talk to your devices over the internet without anyone eavesdropping. It's a cryptographic network protocol that creates a secure tunnel for communication, keeping your data encrypted and safe from prying eyes. Think of it as a virtual armor for your tech.
In the tech world, SSH is a go-to tool for managing servers, deploying applications, and automating tasks. But when it comes to IoT devices like the Raspberry Pi, SSH becomes even more powerful. It allows you to control and monitor your Pi remotely, opening up endless possibilities for innovation and convenience.
Why Should You Use SSH for Your Raspberry Pi?
Here's the deal: SSH isn't just another tech buzzword. It's a game-changer for Raspberry Pi users because:
- It ensures secure communication through rock-solid encryption.
- It lets you manage your Pi remotely without needing to physically touch it.
- It works seamlessly across different operating systems and platforms.
- Best of all, it's completely free—no hidden costs or subscriptions.
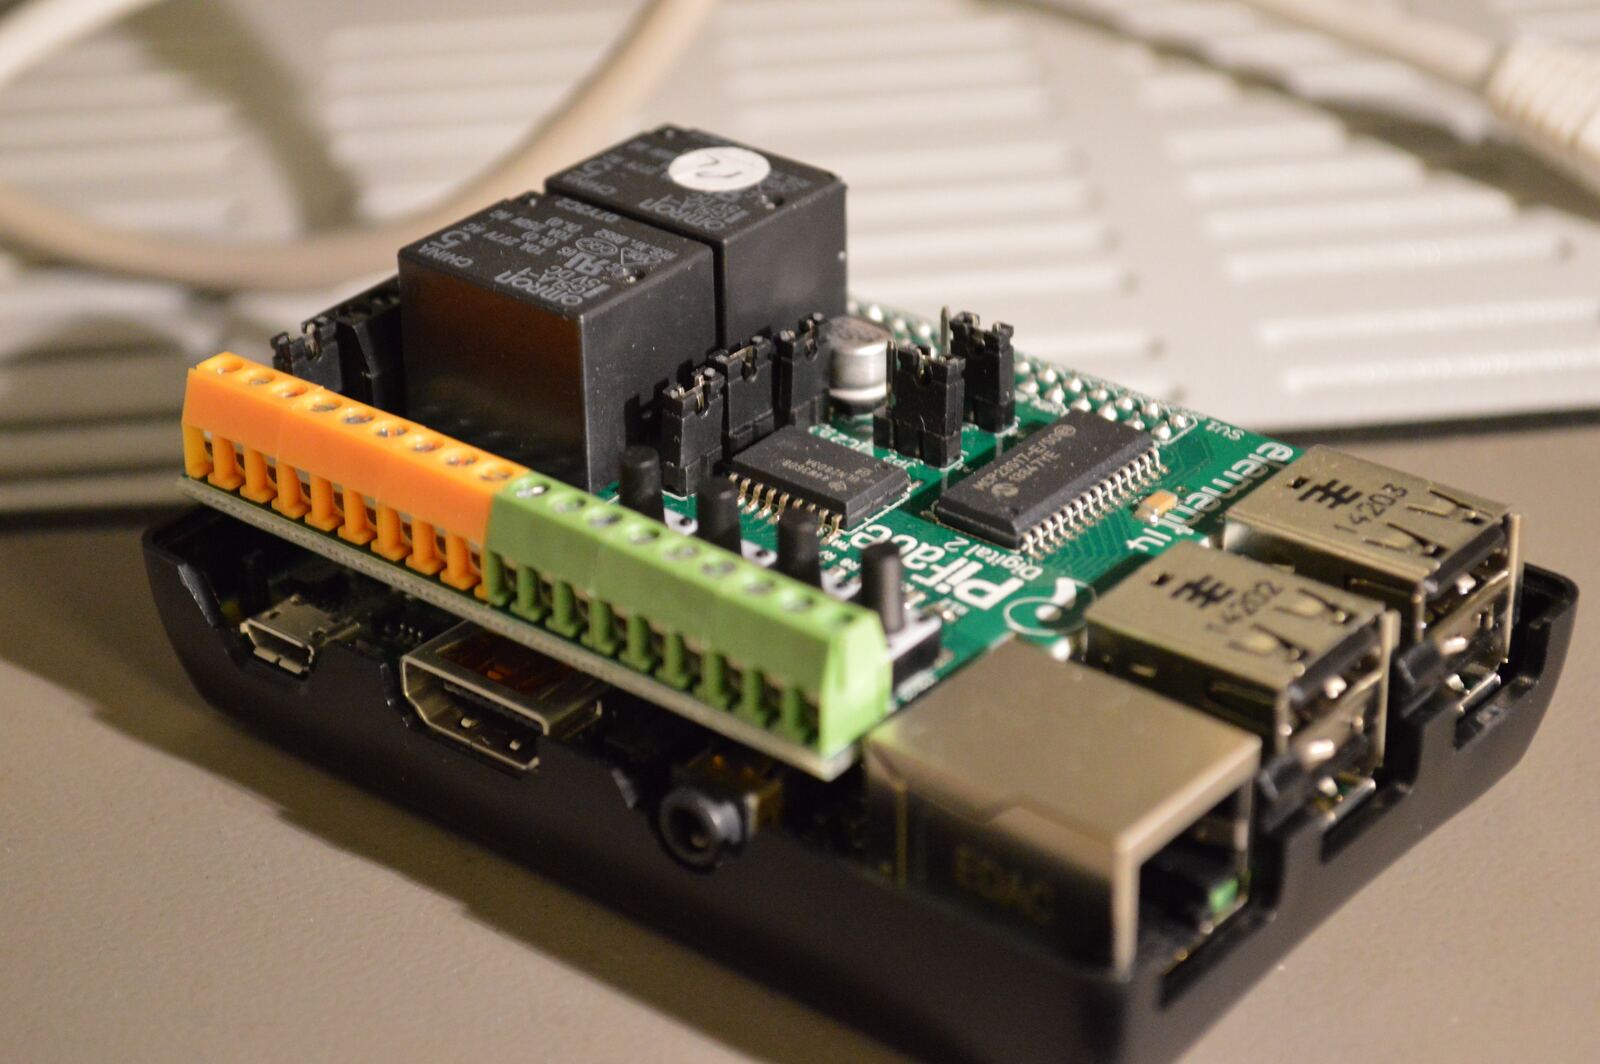
Meet the Raspberry Pi: Your Tiny Tech Companion
The Raspberry Pi is like the Swiss Army knife of tech gadgets. This compact, budget-friendly single-board computer was originally designed for educational purposes but has since become a favorite among DIY enthusiasts and professionals alike. Whether you're building a home automation system, creating a weather station, or setting up a media center, the Raspberry Pi can handle it all with ease.
What makes the Raspberry Pi so special? For starters, it's packed with powerful hardware and runs on open-source software, making it super versatile. Combine that with SSH, and you've got a powerhouse for IoT projects. You can unlock its full potential and bring your wildest tech ideas to life.
What Makes the Raspberry Pi So Awesome?
- It's tiny but mighty, with low power consumption for long-lasting performance.
- It supports multiple operating systems, including Raspbian and Ubuntu, giving you flexibility.
- Its GPIO pins let you connect sensors, actuators, and other cool gadgets.
- With built-in Wi-Fi and Bluetooth, it's ready for wireless communication right out of the box.
Why SSH Is Perfect for IoT
When it comes to IoT devices, remote access isn't just convenient—it's essential. Whether you're monitoring a project, troubleshooting an issue, or performing routine maintenance, SSH gives you the tools to do it all securely. It protects your devices from potential threats while keeping everything running smoothly.
Read also:Camilla Araujo The Glamorous Rise Of A Global Icon
Here's how SSH can help you take control of your IoT projects:
- Access your devices from anywhere in the world, no matter where you are.
- Automate tasks and scripts to make managing your projects a breeze.
- Monitor sensor data and logs in real-time to stay on top of things.
- Deploy updates and configurations remotely without lifting a finger.
Setting Up SSH on Your Raspberry Pi: Step by Step
Setting up SSH on your Raspberry Pi is easier than you might think. Follow these simple steps, and you'll be up and running in no time.
Step 1: Turn SSH On
Here's how you enable SSH on your Raspberry Pi:
- Boot up your Raspberry Pi and log in to the operating system.
- Open the terminal and type the following command:
sudo raspi-config. - Head to the "Interfacing Options" menu and select "SSH".
- Choose "Yes" to turn SSH on, then reboot your device.
Step 2: Connect to the Internet
Before you can access your Raspberry Pi remotely, it needs to be online. Make sure it's connected to the internet via Wi-Fi or Ethernet. This connection is crucial for remote access to work properly.
How to Access Your Raspberry Pi Remotely
Once SSH is up and running on your Raspberry Pi, you can use different tools to connect to it from anywhere. Here are a couple of popular options:
Option 1: PuTTY (For Windows Users)
PuTTY is a free and open-source SSH client that works great on Windows. Here's how you can use it to connect to your Raspberry Pi:
- Head over to the official PuTTY website and download the program.
- Install it on your computer and fire it up.
- In the "Host Name" field, enter your Raspberry Pi's IP address.
- Select "SSH" as the connection type, then click "Open" to connect.
Option 2: Terminal (For macOS and Linux Users)
If you're on a Mac or Linux machine, you already have everything you need to connect to your Raspberry Pi via SSH. Here's how:
- Open the terminal and type this command:
ssh pi@. - When prompted, enter your password, and you're good to go.
Keeping Your Raspberry Pi Safe and Secure
Security should always be top of mind when dealing with IoT devices. Follow these best practices to keep your Raspberry Pi safe:
1. Change Those Default Credentials
One of the easiest ways for hackers to gain access to your device is by using the default username and password. Do yourself a favor and change them right away.
2. Create Strong Passwords
Don't make it easy for intruders to break in. Use strong, complex passwords that mix uppercase and lowercase letters, numbers, and symbols.
3. Add Two-Factor Authentication
For an extra layer of protection, consider enabling two-factor authentication. It might seem like overkill, but trust me—it's worth it.
Fixing Common SSH Issues
Even with the best setup, you might run into problems. Don't worry—here are some common issues and how to fix them:
Issue 1: Can't Connect
Make sure your Raspberry Pi is connected to the internet and double-check its IP address. Verify that SSH is enabled and that your firewall settings are correct.
Issue 2: Authentication Fails
Take a close look at your username and password. Typos happen, so make sure everything matches exactly.
What Can You Do with SSH in IoT?
The possibilities with SSH in IoT are practically endless. Here are just a few examples:
1. Home Automation
Control your smart home devices and appliances remotely using SSH. Imagine turning on the lights or adjusting the thermostat from anywhere in the world.
2. Environmental Monitoring
Use SSH to monitor temperature, humidity, and other environmental factors in real-time. This is perfect for projects like weather stations or greenhouse monitoring.
3. Industrial Automation
Manage industrial equipment and processes from afar, ensuring everything runs smoothly without needing to be on-site.
Got Questions? We've Got Answers
Q1: Is SSH Safe for IoT Devices?
Absolutely! SSH is a secure protocol that encrypts all communication between devices, keeping your data private and protected.
Q2: Can I Use SSH on Multiple Devices at Once?
Yes, you can! SSH supports multiple simultaneous connections, so you can manage several devices at the same time.
Wrapping It Up
SSH for Raspberry Pi IoT is a powerful tool that lets you remotely access and manage your devices from anywhere in the world—all for free. By following the steps in this guide, you can set up SSH securely and efficiently, unlocking endless possibilities for your IoT projects.
I encourage you to experiment with SSH and see what you can create. Share your experiences, ask questions, and connect with the community to deepen your knowledge. Don't forget to bookmark this article for future reference and explore other resources on our site for even more valuable content.
Thanks for reading, and happy tinkering!
Article Recommendations